GTM install
How to Install a Marketing Script with Google Tag Manager
If you already have a marketing script and do not want to edit your website code directly, Google Tag Manager is usually the safest place to install it.
On this page
The quick answer
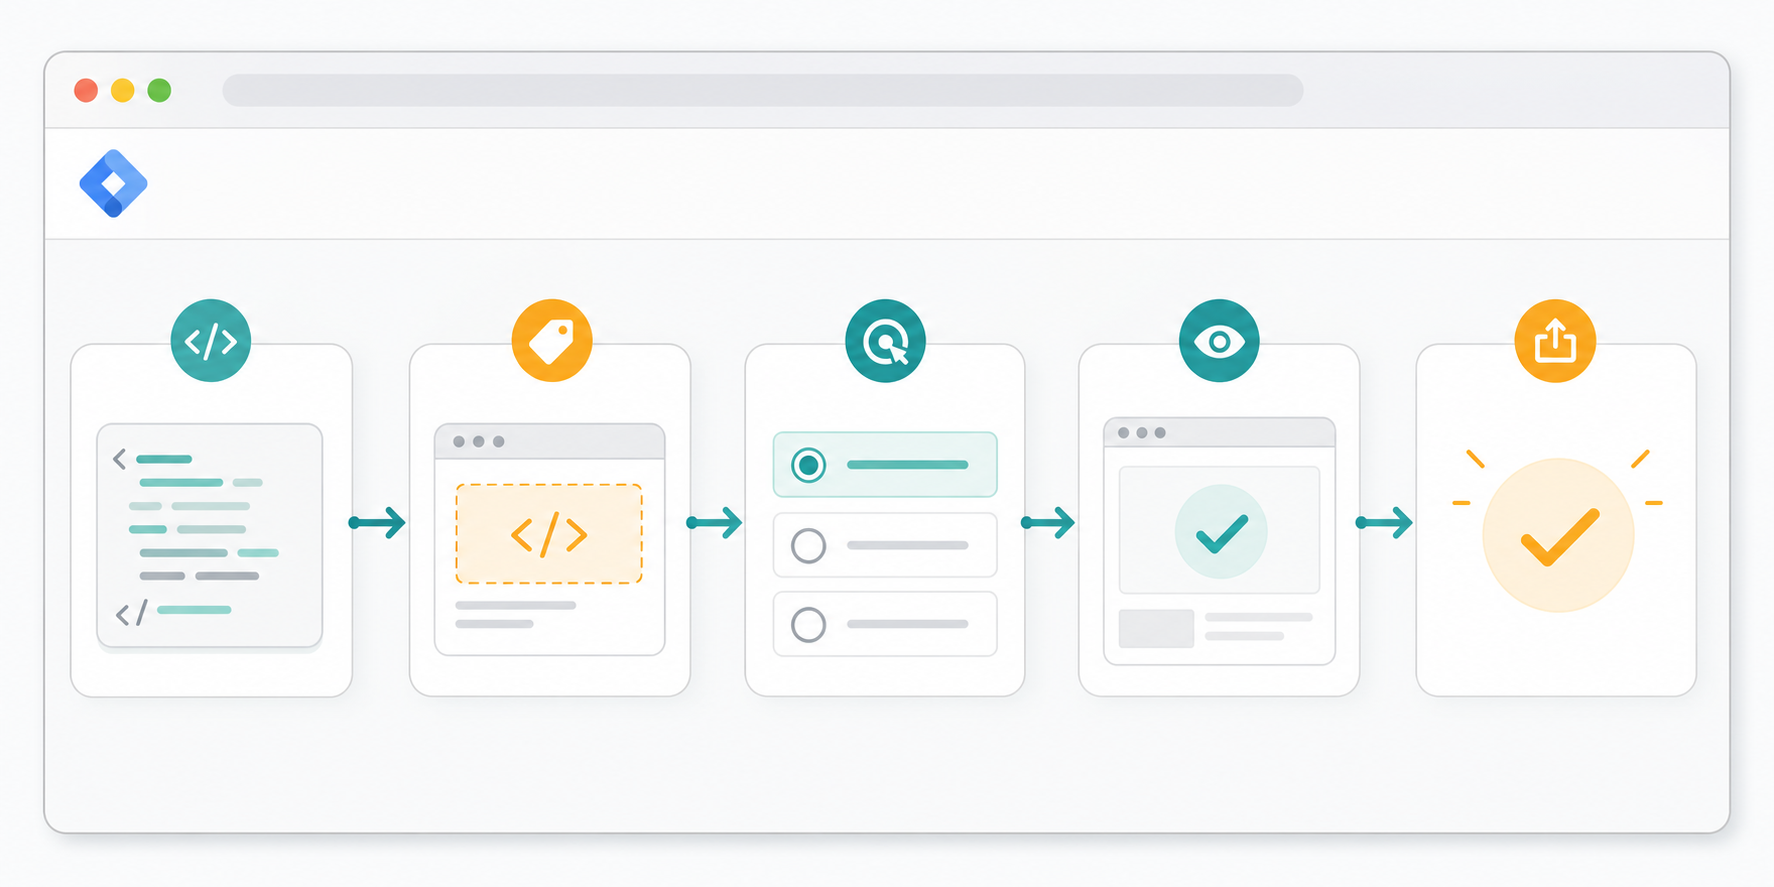
To install a marketing script with Google Tag Manager, open the correct container, create a Custom HTML tag, paste the full script, scope the trigger, preview it on the real site, then publish only after the behavior looks right.
- Open the correct GTM container for the website.
- Create a new
Custom HTMLtag. - Paste the full script exactly as provided.
- Choose the trigger for the pages where it should run.
- Use Preview mode on the real site.
- Confirm the tag fires where it should and stays off where it should not.
- Submit and publish only after preview looks right.
If you are unsure about the trigger, do not default to all pages. Start with the smallest useful page group and expand later.
What Google Tag Manager does in plain language
Google Tag Manager is a layer between your website and the browser-side scripts you want to run.
Instead of asking a developer to hard-code every marketing or UX script into the site template, you add the script inside GTM, tell GTM which pages should run it, then publish that container change.
That makes GTM useful for teams that need faster control over browser-side scripts, but it also means trigger choice and preview discipline matter. A bad trigger can spread a script wider than you intended.
When GTM is the right way to install a script
Google Tag Manager is useful when the script is meant to run in the browser and the provider expects you to paste a JavaScript snippet into the page.
- You manage marketing tools without direct access to the site codebase.
- The site already loads a GTM container.
- You want preview mode before publishing.
- You want a marketer-friendly way to update page-level scripts quickly.
| Good fit for GTM | Poor fit for GTM |
|---|---|
| A browser-side marketing or UX script that should run on selected pages. | A backend integration, secret API key flow, or server event pipeline. |
| A team that already has working GTM access and preview permissions. | A team guessing which container the site uses or whether GTM is installed at all. |
| A script that can be tested safely in preview on a live page. | A script that must go live without any page-level verification. |
Before you start
Do these checks before you create the tag:
- Confirm you are in the correct GTM account and container.
- Confirm the site actually loads that container.
- Keep a copy of the full script snippet in a safe place.
- Know which pages should run the script.
- Know whether the script depends on consent, login state, or a completed checkout step.

- Open the website and confirm GTM is already installed there.
- Check the container name against the site or domain you are editing.
- Decide whether the script belongs on all pages, a page group, or one route.
- Pick one or two pages you will use for preview testing.
If you cannot answer those questions clearly, stop before you paste anything. Most GTM mistakes happen before the first click in the editor.
Step-by-step setup
- Open the correct container. Check the container name, domain label, and workspace before you edit anything.
- Create a new Custom HTML tag. Use it when the provider tells you to paste a full script snippet into the page.
- Paste the full script exactly as provided. Do not trim or rewrite the snippet unless the provider explicitly tells you to.
- Choose the trigger carefully. Start with the page group where the script clearly belongs.
- Use Preview mode. Test included pages and excluded pages before you publish.
- Check page behavior, not only tag status. Look for console errors, layout changes, duplicate behavior, or consent issues.
- Submit and publish. Give the version a clear name, publish it, then re-test one live page.
| If the script is for... | Start with... | Avoid starting with... |
|---|---|---|
| A site-wide measurement or utility script the provider explicitly documents for all pages. | All Pages, after preview confirms it behaves safely. | A guessed site-wide launch when the provider docs are unclear. |
| Pricing, signup, or demo intent. | A page-view rule scoped to those routes only. | All Pages. |
| Cart, checkout, or saved-cart recovery. | Cart and checkout routes only. | Homepage, help pages, or account pages that do not need the script. |
| One campaign or landing page. | A specific URL or narrow page group. | Broad pattern matches that catch unrelated pages. |
| Good use | Poor use |
|---|---|
| A trigger limited to the exact page type where the script helps. | Using all pages because it feels simpler, even though only one page type needs it. |
| A page-view rule that matches a stable URL pattern. | A vague pattern that accidentally catches help, account, or checkout pages too. |
| A scoped first launch that can be expanded after testing. | Publishing a site-wide trigger before you know how the script behaves. |
Testing checklist

- The correct container was edited.
- The full script was pasted.
- The trigger matches the intended pages only.
- Preview shows the tag firing where expected.
- Preview shows the tag staying off unrelated pages.
- The page still works after refresh.
- The script does not conflict with consent or existing tags.
- The live page behaves the same way after publish.
Common mistakes to avoid
- Publishing in the wrong container.
- Setting the trigger to all pages by accident.
- Publishing without preview.
- Pasting partial code.
- Forgetting consent or policy requirements.
Test before you ship
- Open a page where the tag should run.
- Confirm the tag appears in preview.
- Refresh the page and confirm it still behaves correctly.
- Open a page where the tag should not run.
- Confirm the tag stays off there.
- Publish.
- Re-test one live page and one excluded page.
If your team has a staging site with the same GTM container behavior, test there first. If not, use the narrowest safe trigger on production pages and verify carefully.
Where TitleFlash fits
TitleFlash exports a self-contained browser script that many teams install through Google Tag Manager instead of editing templates or app code directly.
- Export the final script first.
- Paste the full script into a
Custom HTMLtag. - Limit the trigger to the pages where the title reminder should run.
- Preview the page and verify the behavior after switching tabs.
The exported script is the runtime. It does not call TitleFlash after installation, does not load a TitleFlash CDN, and does not send visitor analytics back to TitleFlash.
Final checklist
- I know which GTM container the live site uses.
- I have the full script snippet, not a partial copy.
- I chose the smallest useful trigger for the first release.
- I previewed included and excluded pages.
- I checked page behavior, not only tag status.
- I tested again after publishing.
Export a TitleFlash script and install it with GTM.
Build the title sequence, preview the inactive-tab moment, then export the final script when you are ready to publish.
Build a tab-title flow free